

First let me say that this is by no means the only way to produce a photoreal paint. There are alot of different ways to make them, but this is the way that I taught myself and the way that I will write a tut for.
I would also like to say, that unless your painting for hire (which is rare) Please, ALWAYS paint to your own satisfaction, not anybody else's. Its a very fun hobby that I enjoy very much but when you try to paint to what other people want, its a problem.
Lastly, This tut is for repainters who already know the basices of painting, and how to get a plane inside FS. I did not include how to add my own effects, I simply show my way of getting the base coat of the photoreal aspect of it on. (if that made any sense)
Well lets get started then shall we?
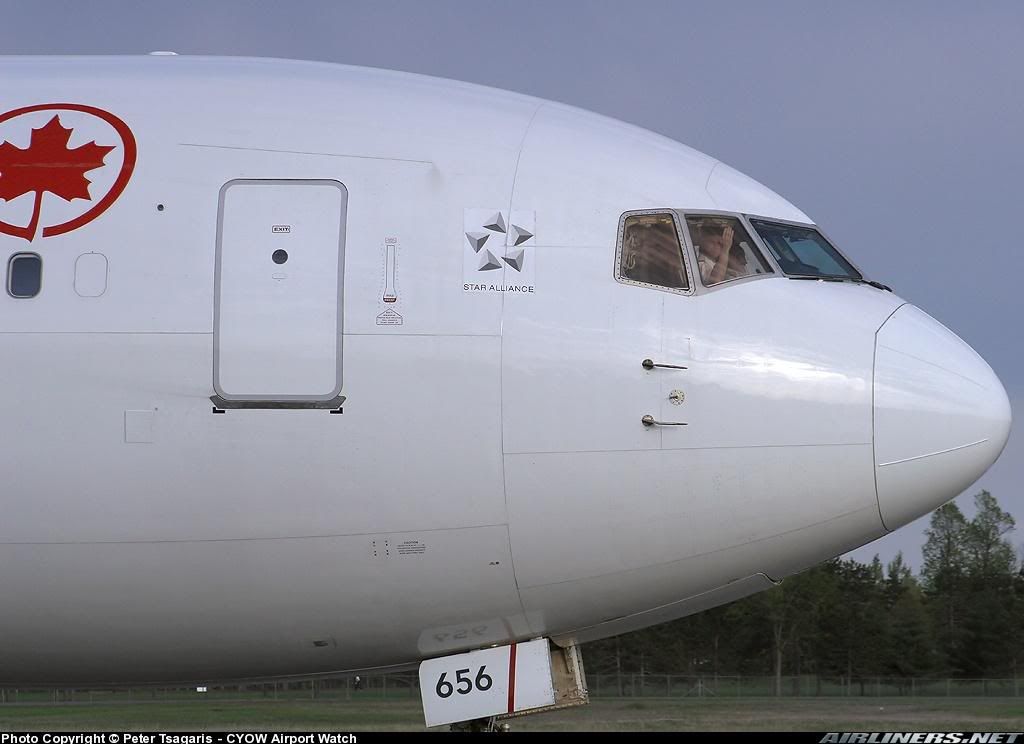
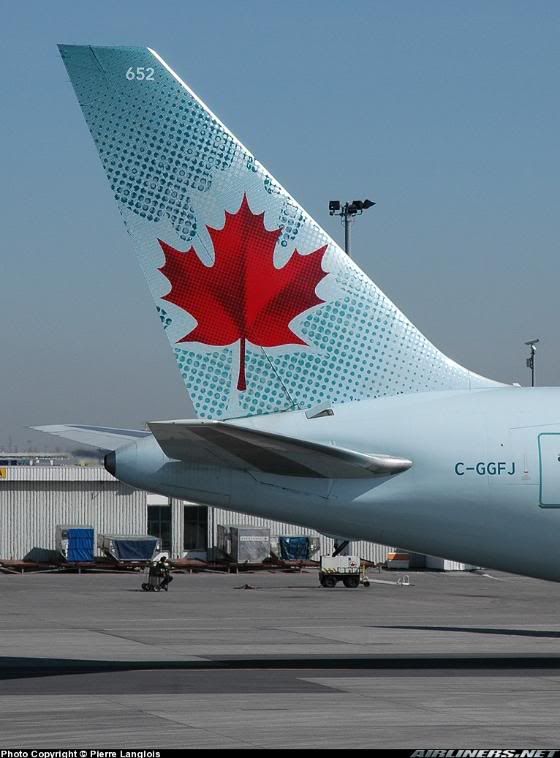
First decide what plane you want to paint, and the livery. I chose an Air Canada 767-300ER.
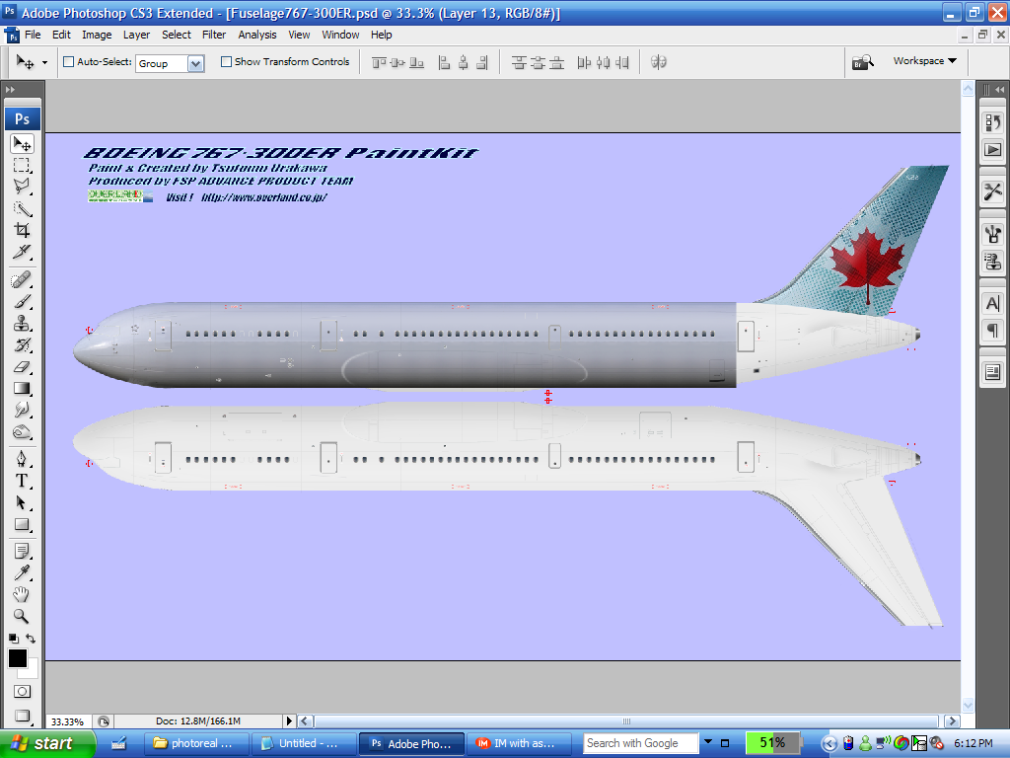
So the first thing we need to do is gather a paintkit, and photos of the plane. Try to pic photos of the nose and the nose and the tail. these are the two I chose.
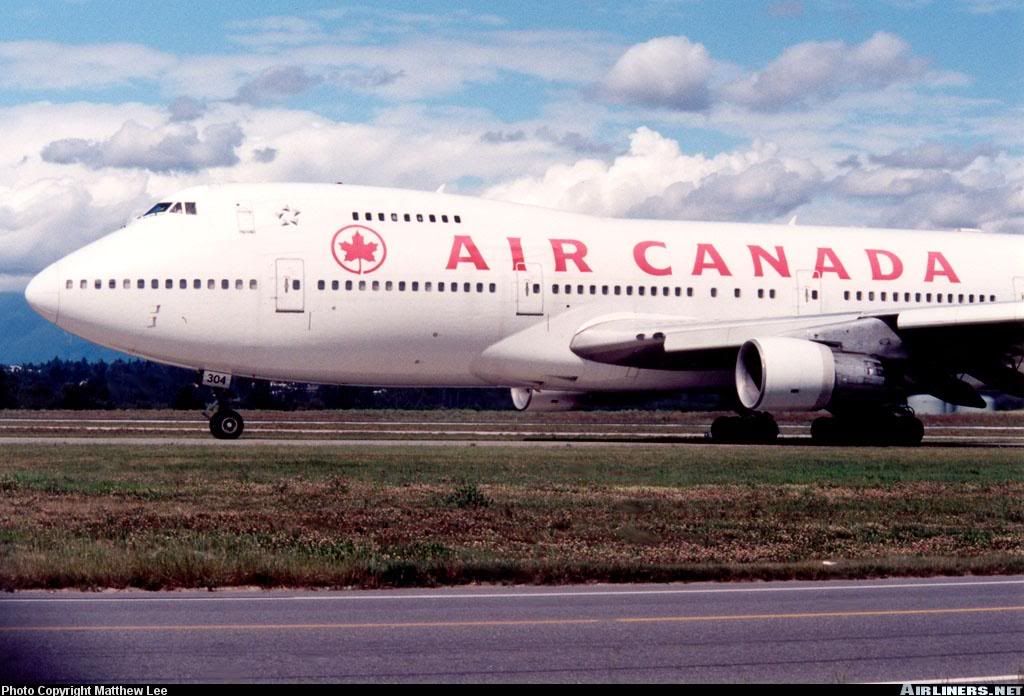
Also if the titles of the plane are too small to put on the plane, then get them from a different picture / plane. I used an a340 nose with large clear titles.
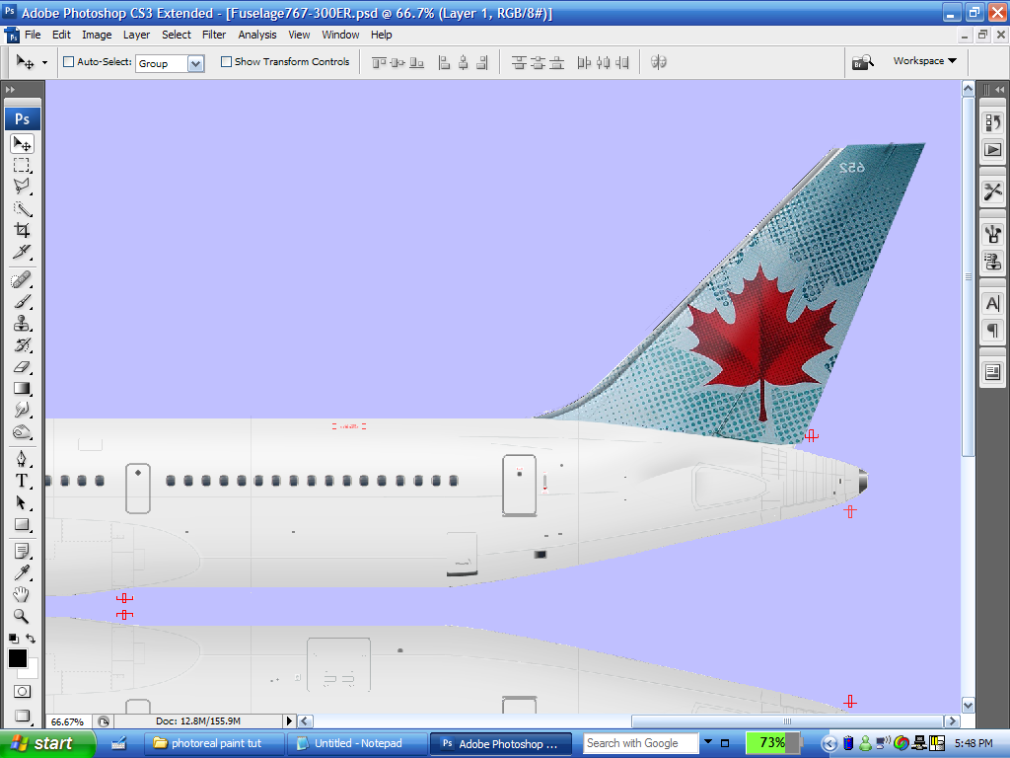
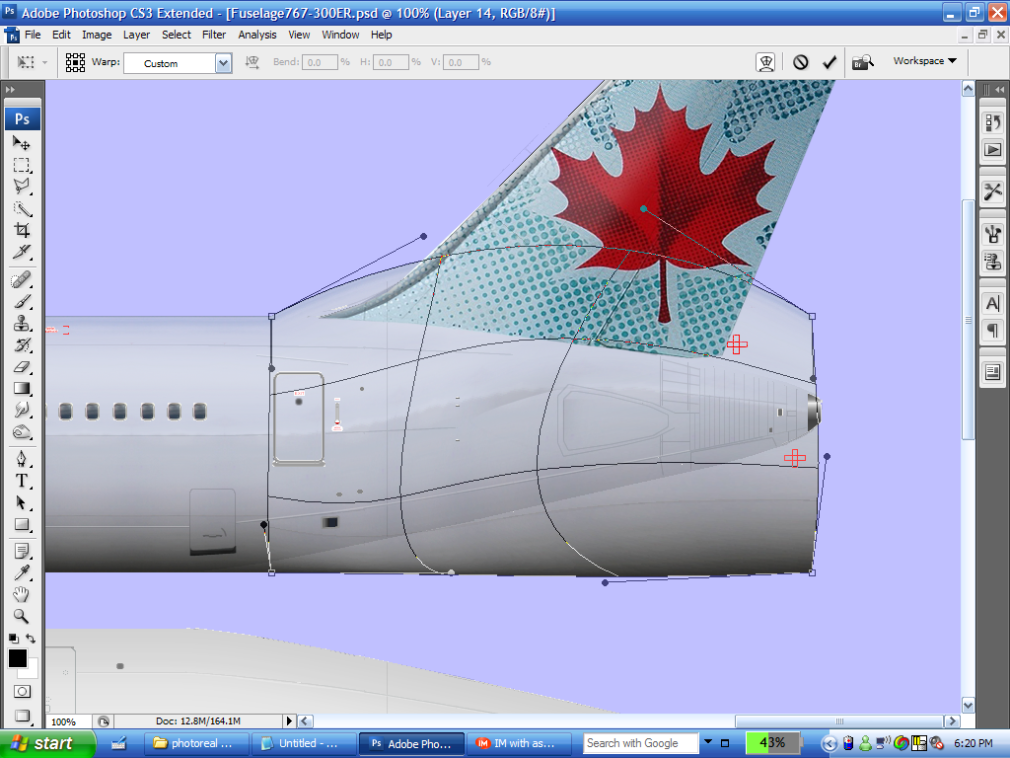
And now to start with the painting! I normaly start off first with the tail. Use the polygon laso tool to get around it, and the copy it.
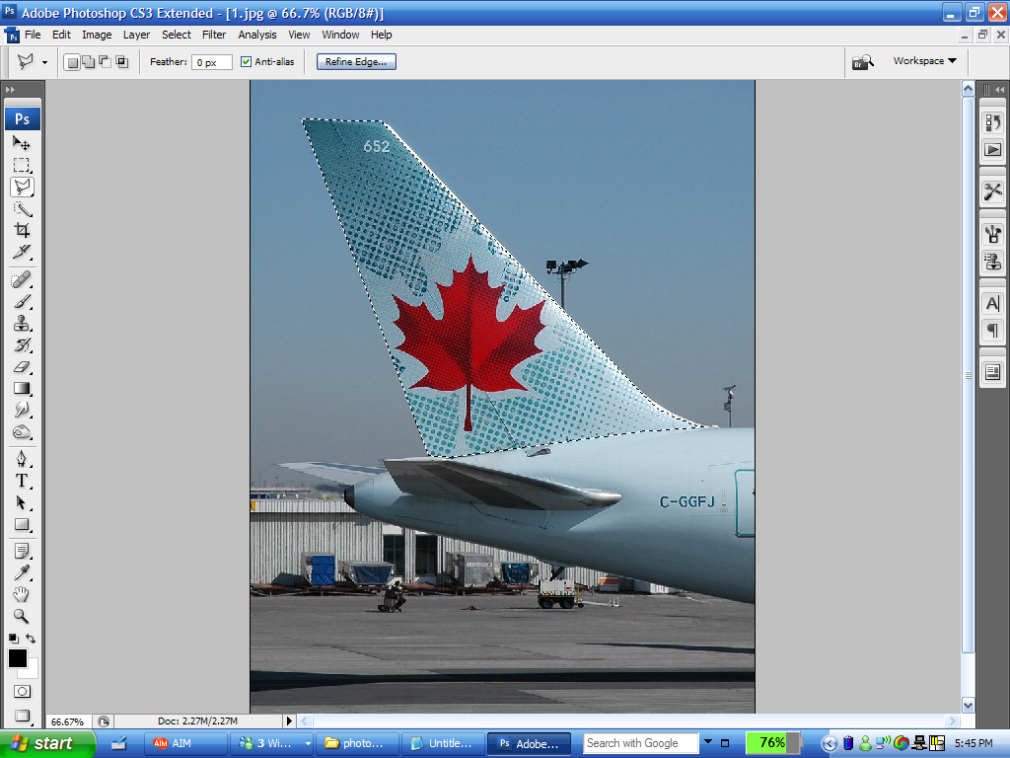
Make sure you are on the "paint here" layer in PS. Do this by pressing "F7" and double checking your layer. when you paste the picture into the PS image, warp it and contort it so that it fits like this
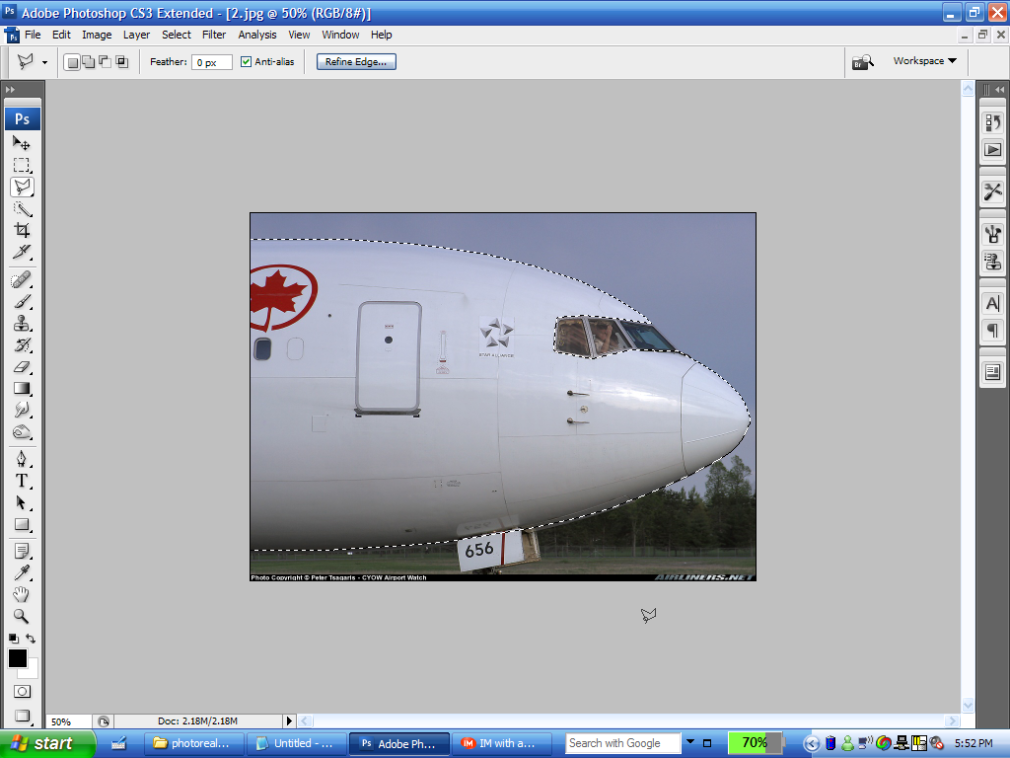
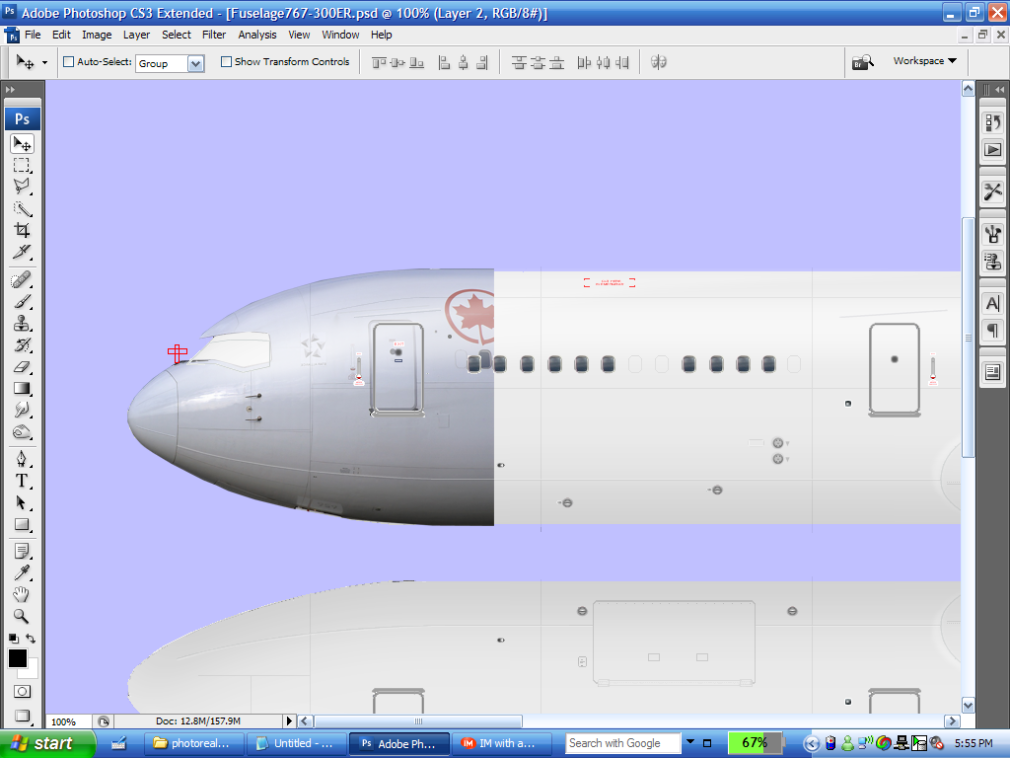
Now that we have the tail done, lets get on with the fuse. Start the fuse with the nose. Get the laso around the nose so that it looks like this.
Now copy that and paste it into PS.
AHHH!
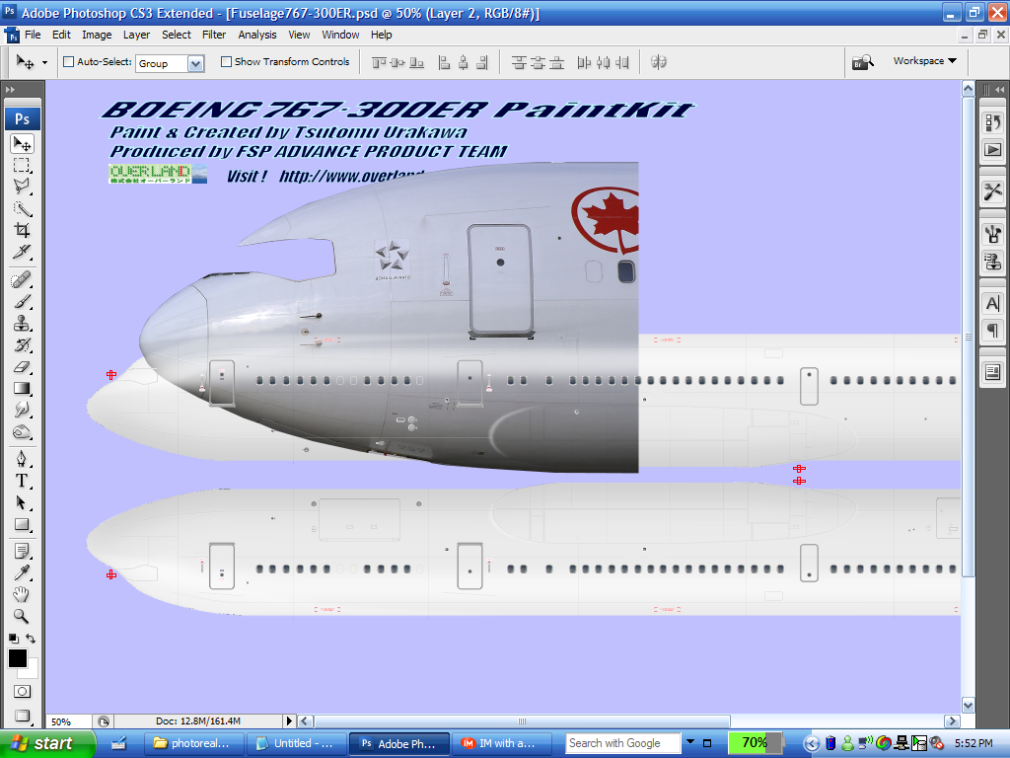
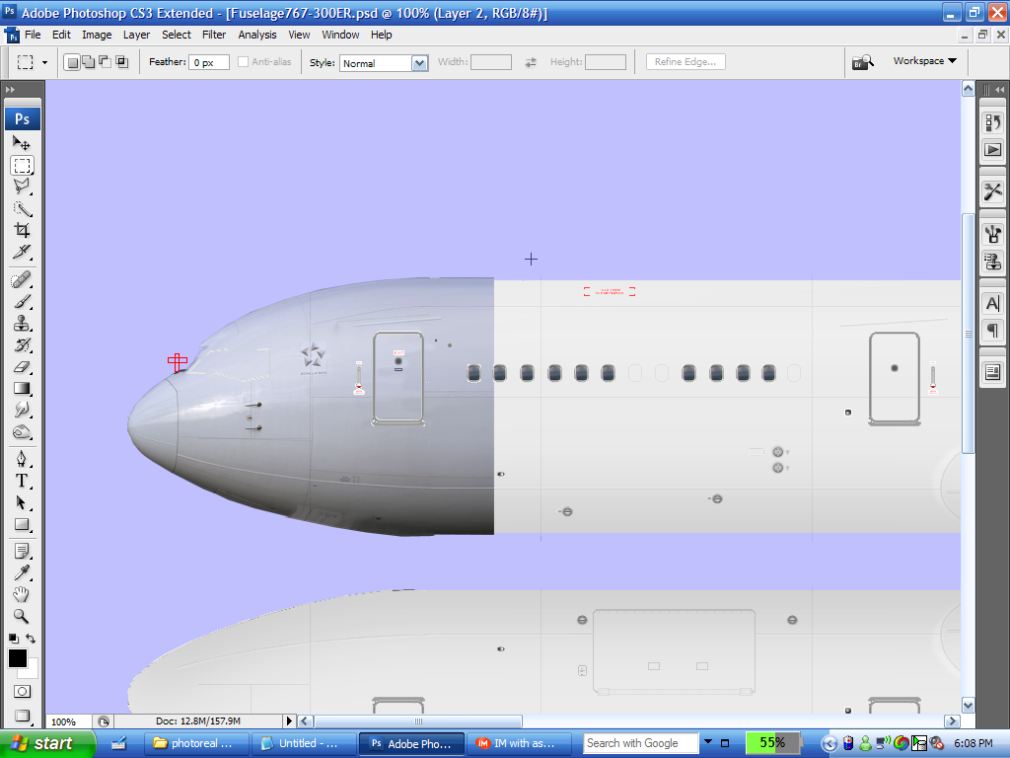
Muaha, Not to worry, just press CTRL + T to resize it to the approximate nose specifications of the paintkit.
After you do that you should have something like this
If you notice, there is still some problems with it. One problem is the shine, another problem is the area where the cockpit was is just white. So we fix those problems like this..
The shine is an easy fix, just press F7 and find the shine layer, and decreace the opacity down to your own desirable level.
When you are done with that, use the smuge tool to smuge the colors around the cockpit so that they look uniform. The process I use for this is to smuge it with a 10 pxl brush at 100% till the area is covered.
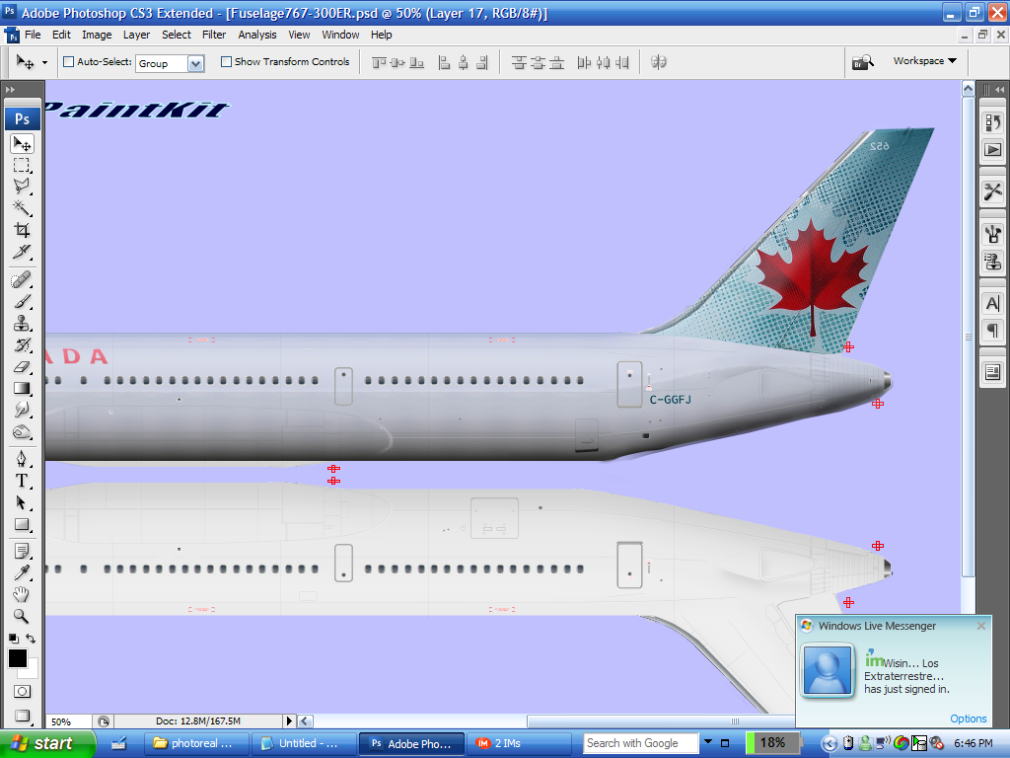
After this is done. You should have a se nose. Smuge over the windows and doors in the selected area, and if you want, the half of an Air Canada logo..And you will get something like this.
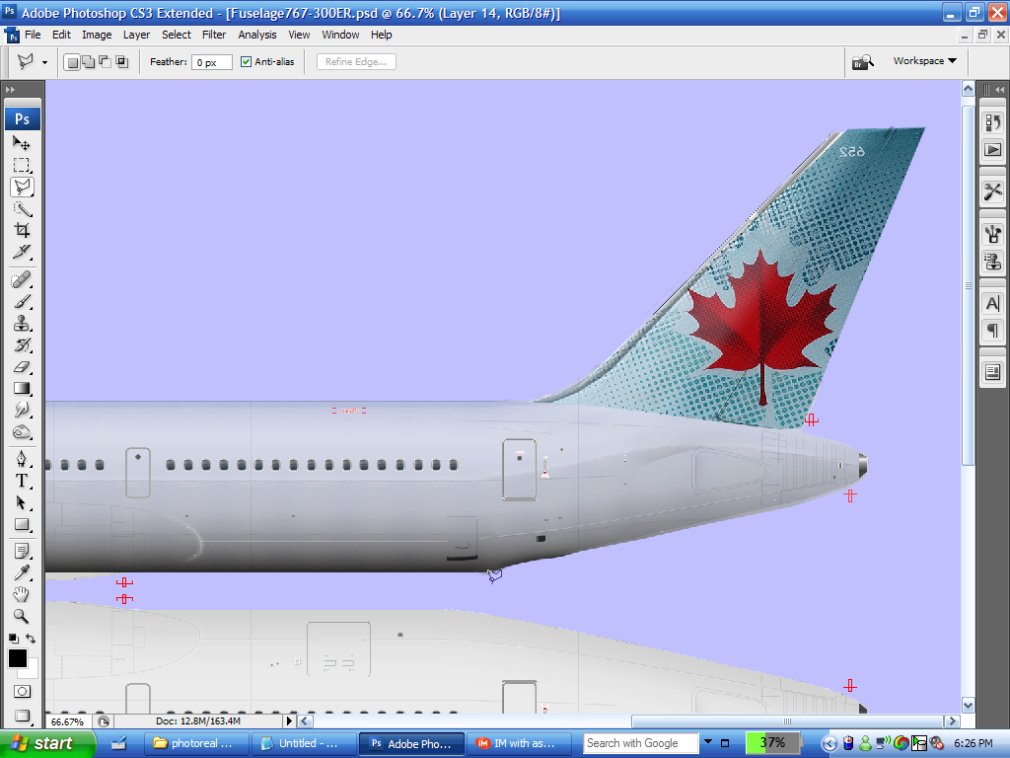
Ok, at this point i Cheat a little. I take a chunk of the already photoreal section and copy it all the way down the fuse, like this
Alright, now i think that the fuse is a bit dark, so I will change the curves and brightness of it, but thats an easy part.
Now if you have completed most of the fuselage, you can merge the layers that you have completed on the fuselage. Copy a box about the size of the remaining length of the plane and past it towards the end like so.
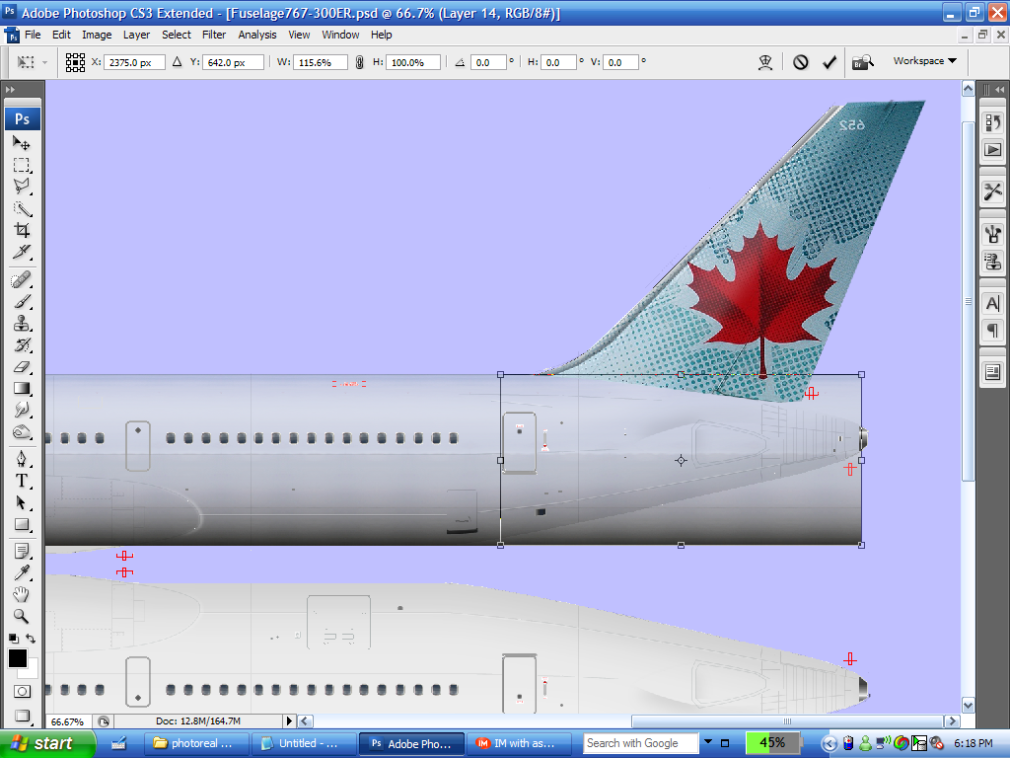
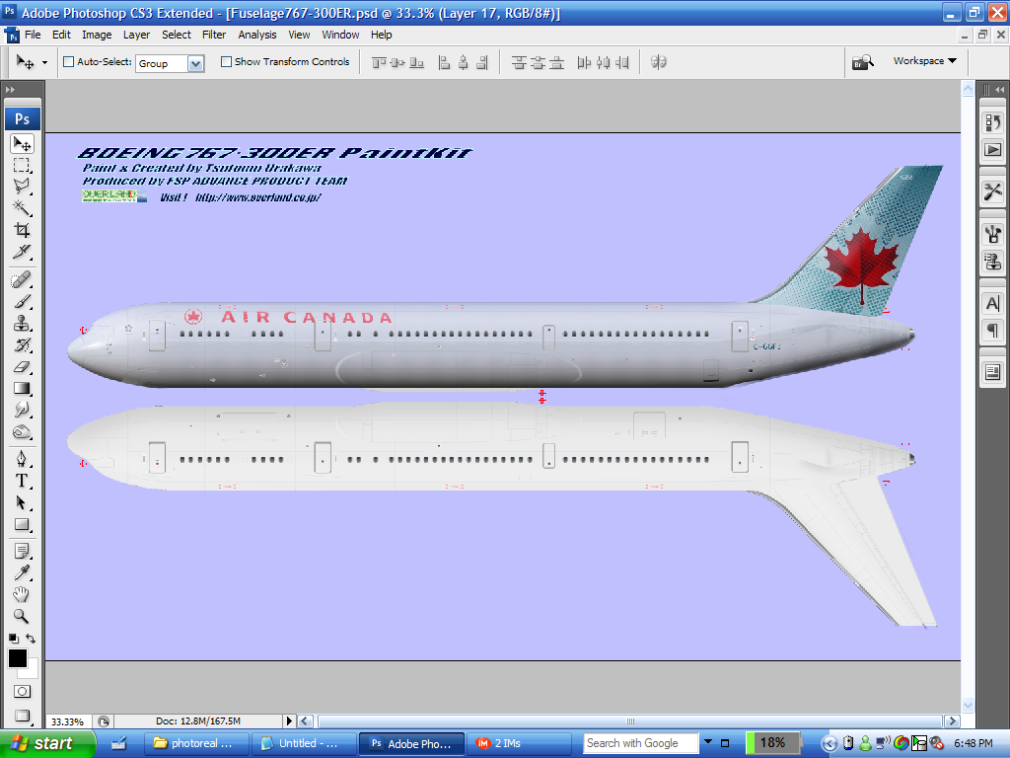
Now This part is tricky. try to use the warp tool and warp the reflection like so that it goes up over the horizontal stabalizer, then back down to the end of the tail. Should look like this:
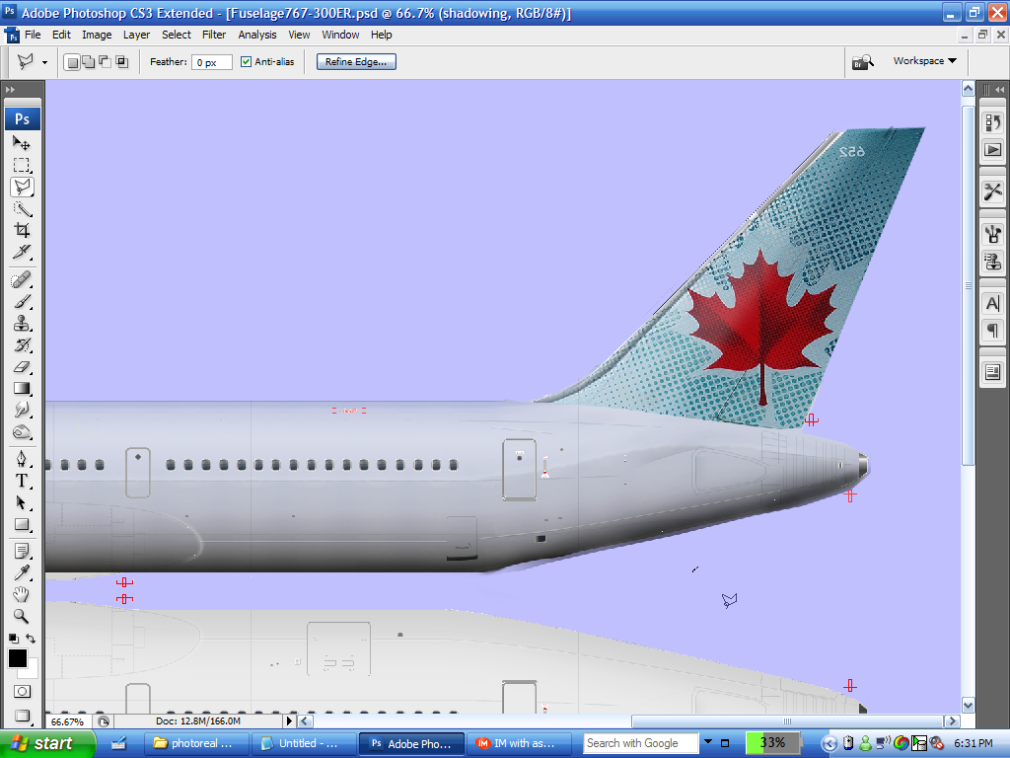
Alright. lets try to get the shadow lined up.Do this by merging the layers and smuging them together.
Now, We need to merge the tail shadow. This is easily done. Create a new layer and name it Shadowing. Then just use a Medium size paint brush (size 40-45) and brish along the end till you get something like this.
Then we need to add logos. First I add the airline titles, cut them out of the photo, then past them and warp them into their right size on the PS file, such as this.

Now warp It and transform it untill it looks correct. I always find this a bit difficult so I'm settling with this.
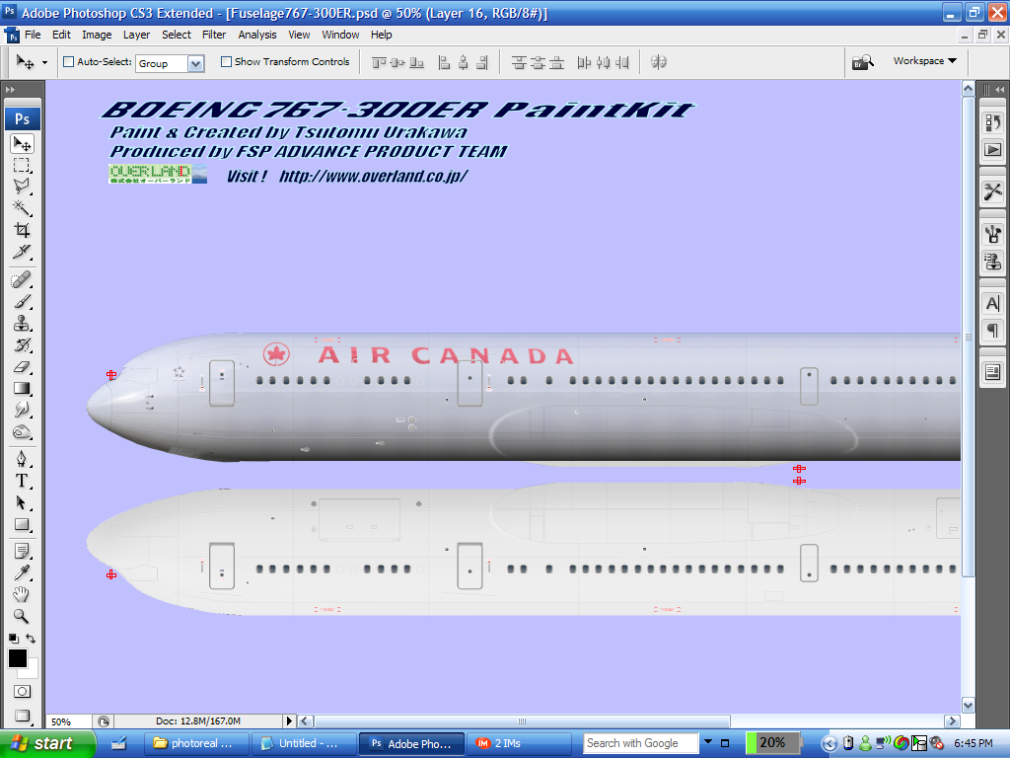
Now add the Reg
And in a nutshell, your done!
If anyone has any questions feel free to PM me!
I would also like to say that different paint schemes require different approaches to painting. This is the approach I use to basic paint schemes. Obviously, for the special paints I did ( eg, Lord of the Rings, Hibisicus, Haliconia, etc) a different approach is needed, and If i have a few hours I will sit down and create a tut on Haliconia if I get enough requests for it...
Hope to have helped,
Chris Hatcher


 and also, do we flip the image by copying and pasting and using free transform?


